The cardboard box. They help you move house, they bring deliveries into your home, but if you inject some imagination they can be so much more, and can save you a lot of money.
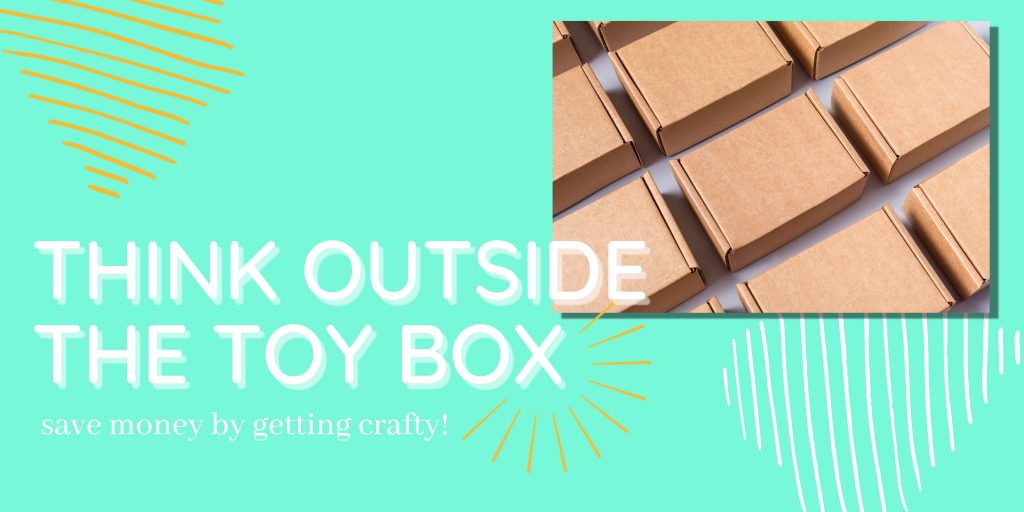
Right now, more people are moving house than in the last decade. It’s stressful, it’s tiring, and it can be very overwhelming. With so many people packing up their homes, we started wondering if there was a way to lift some of this stress, and whether there was an easy way to get more life from the boxes you use. With some patience and creativity, you can use a cardboard box to create something new for your home, when the store bought alternative can cost hundreds of pounds.
Here are five simple yet effective cardboard craft ideas, and how to make them!
Cardboard Tent
This craft is perfect for TV boxes, or any box that is large and thin! Most TV boxes will come in two parts: an inner and outer box. Pick a side and cut it straight down the middle so that it opens up. Stand it with the spine in the air. This is your basic structure. You could also cut windows out of the two sides depending on how light you’d like it to be. Now for the fun part… decorate! Cover your structure in contact paper or wallpaper, paint it, cover it in stickers, or just throw a sheet over the top. You can be as creative or as simplistic as you like. Finally, place your tent down on a blanket, fill it with pillows, and enjoy your at home camping experience!
Easel
One of the simplest crafts on this list is the easel. In need of a stand for your creations? Simply take a box, cut off the top and bottom flaps, and divide the box into two. You should be left with two hinged sides. Stand the cardboard with the spine in the air. Use tape to set the angle of the easel, and secure it to your workstation with a little more tape if needed. Use masking tape to secure some paper to the front of the easel, and set up some art supplies. You’ve got a stand for your art, now get creative!
Bed Desk
A handy place to stand your laptop in bed, a snack table, a little homework station. Bed desks (or lap trays) have hugely increased in popularity since the start of the pandemic. If you are unsure whether you should take the plunge, or just need a quick fix for the time being, here is a fantastic box hack to get you started. Simply cut off the flaps that open the box, flip the box over, and glue them to the new top of your lap tray. Reinforce the top by taping the flaps together from the inside, then cut out an opening for your legs. Decorate as desired, and you have a very simple bed desk!
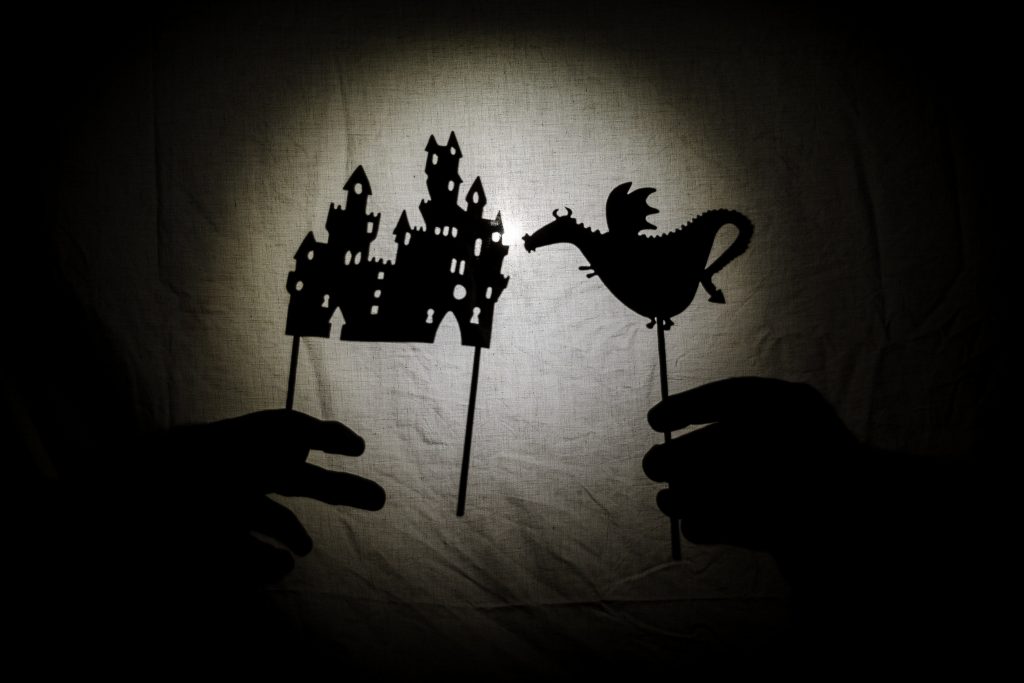
Shadow Puppet Show
This is one of the most impressive crafts on the list, and requires a little more patience and skill than the others, but if done correctly it is so fun! You don’t need a pricey setup with big lights and shop-bought props, you just need some time, a box, and a torch. First, place the box on its side so it’s standing tall, and decide which side of the box is going to be the “screen”. Cut large windows into the sides, and cut the screen out. Take the whole back off. Make some puppets using leftover cardboard from your cuttings, and install your screen made of thin paper or fabric (things like layered tissue paper). Once you have assembled your shadow puppet theatre, it is time to place a light behind the screen and enjoy the performance.

Play Kitchen
We’ve all seen those beautiful play kitchens online. They’re normally a pastel shade of pink or green, and never seem to get dirty. These kitchens can set you back hundreds of pounds, though. What if I told you that you could make a kitchen that rivals handcrafted, wooden ones with cardboard boxes and some paints?
The best thing about the cardboard kitchen is how customisable it is. Depending on the size of your box, there are various options as to what you can do. This is why the first step is to plan your kitchen out. Simply draw on your box where you’d like to add doors, knobs, and hobs. You could even add a sink! Cut your doors out, then open up the box to secure an oven rack horizontally across the space with any leftover cardboard you have. Reinforce the top and bottom flaps of the box, then it’s time to paint! If you’re choosing to keep the colour of the natural cardboard, you can skip ahead to adding your details such as painting on hobs, knobs, and buttons. To add handles to your doors, you can use almost anything. You could use scrap cardboard, elastic pulls, bottle caps, and more! Now, you have your basic kitchen. With any spare cardboard you could fashion utensils or pans, or even design a backsplash behind your new oven. If you have any extra boxes you could even create cupboards, or a fridge!
The cardboard box is versatile, beyond acting as a container. If you can get crafty, you can create new toys out of old supplies and save yourself from spending unnecessary money.